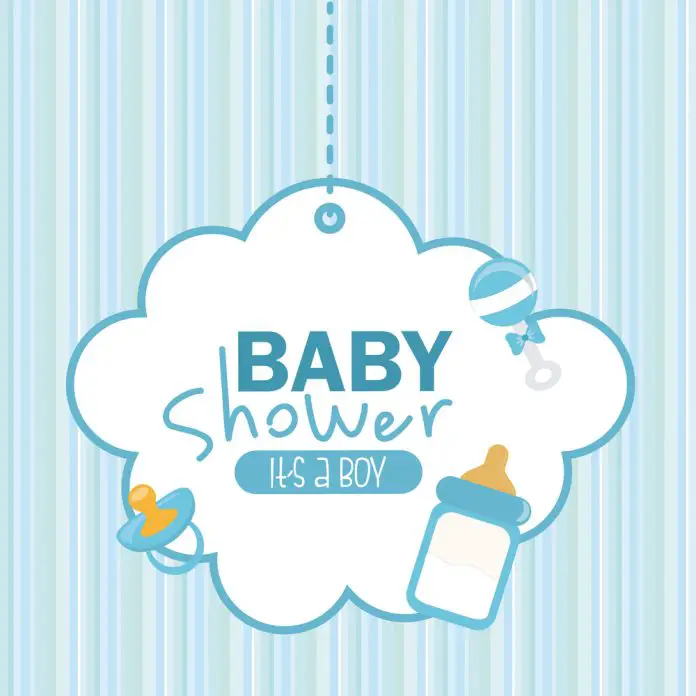
If you’re throwing a baby shower, a beautiful banner can be the centerpiece of your event. Making a banner is not as complicated as one may think. One can design one that goes with their party theme using these simple editing programs on a PC or by using Canva online for free and some hard paper.
Table of Contents
Some Gorgeous DIY Baby Shower Banners
Blue Elephants
Golden Bees
Friendly Rainbows
DIY Baby Shower Banner In Canva (Free Photoshop Alternative)
A modern, free way to create a DIY baby shower banner is to use Canva. Check out this step-by-step guide above to create a fun, glamorous DIY, baby shower banner.
DIY Baby Shower Banner In Word
This article will guide you on some basic steps to follow and make a circular baby shower banner in Microsoft Word. The same idea can be used to make a square or a pendant banner for your baby shower party. You can also consider making some baby shower table runners if you’re serving buffet-style food.
- The first thing is opening Microsoft Word on your PC.
- Then select the Insert option on the top left of the page.
- On the Insert menu, select the shape you want, for example, oval.
- Then click on your page so that the oval shape now gets to show up on the document.
- You should then proceed and go to the top right of the menu.
- It will provide an option for you to where you can be able to alter the width and height and thus have an effect on the overall size.
- Put in three-under both and your oval will automatically turn into a three-inch circle.
- Go ahead and print it out onto cardstock.
- It will be a perfect template to use for your project. In case you need a different size, you can adjust the width and height dimensions to get the right size for your shape.
To make your letters, there are a couple of things you should do.
You can type them on Microsoft Word and in the same way, print them onto cardstock paper. You can go ahead and cut out each letter to use on the banner.
Another ideal method is using a template that has the alphabetical letters and then tracing it with color on the cardstock you will be using.
In case you have a Silhouette machine, you can also cut the letters from your cardstock paper. You can cut letters that are measuring about three inches or whichever size suits your project.
Requirements:
- letters for your banner
- scrapbooking paper of about four different colors
- a hole puncher
- a glue stick
- a pencil
- a pair of scissors
- circles template both cut out and printed
If your scrapbooking paper doesn’t meet the required width, one will be required to have additional cardstocks for a stronger base.
Create Your Banner
Start by laying out your template and figuring out the pattern you want. You can use four-inch and three-inch circles in three different colors of scrapbooking to make your banner. In this case, you can use the colors green, blue, and brown for your pattern. To get a vintage look, use a vintage pattern that will be able to complement each other.
The next thing is to flip the paper, trace the circles, and cut them out carefully. Once you have cut all of them, go ahead and glue them. They use a puncher to make two holes on top of every circle. Then thread a string into the holes of the circles and ensure they are all good and your baby shower banner is now ready to be displayed- check out how to hang banners with grommets. You can choose a color that complements that of your banner. Use the thread to mount the banner and you will have done it. These fun banners remind us of celebratory step and repeat banners that are also often used for parties!



![How much does it cost to print 1,000 flyers? [Stats]](https://banneradviser.com/wp-content/uploads/2022/03/maxresdefault-218x150.jpg)
![What are Yard Signs Made Of? [Science] What are Yard Signs Made Of A Look at the Different Types of Materials Used in Making Yard Signs](https://banneradviser.com/wp-content/uploads/2022/04/pumpkin-2759904_1280-218x150.jpg)
