A yard sign is a highly versatile advertising tool great for neighborhood promotion. From popularizing a political candidate, publicizing a yard sale, to giving directions to a birthday party, a yard sign’s uses are limitless. Most of the time, we buy custom yard signs online from places like Vistaprint- but you can make your own in not much time at all. Below, we’ll walk you through some DIY custom yard signs.
Table of Contents
How To Make A Homemade Yard Sign
A Giant Lawn Yard Sign Option
This kid’s birthday banner sign is weatherproof and designed to be durable so you can use it over and over! Each of the colorful letters is 24 inches tall, so you can view it from down the block! The YouTuber did say you’ll need a Cricut, Cameo Silhouette, or a vinyl cutting machine. They say it’s pretty easy to do and doesn’t take much time.
A Regular Sized Yard Sign
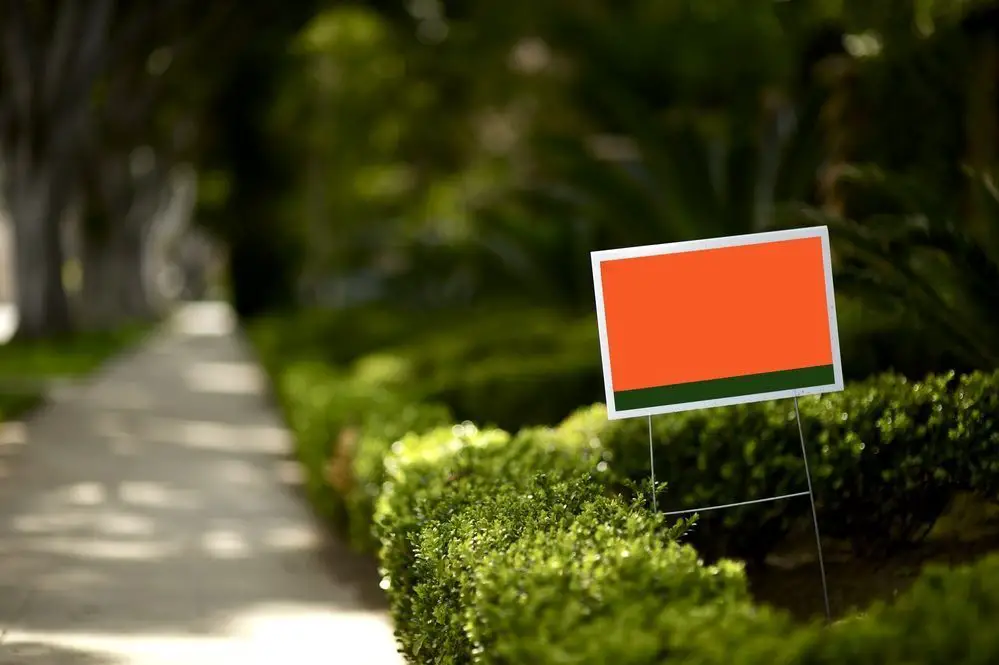
This is a more conventional-looking yard sign- something you’d see planted on a lawn after the landscaper’s finished. Canva has some free yard sign poster templates you can use if you just want to mock something up quick.
Step1: Pick the base material
This is where all your design elements will be positioned. A thick piece of cardboard would serve the purpose. Please ensure that it is large enough so that the primary message and other design elements will be visible.
Step 2: Prepare the base material
Cut the cardboard into a size that will fit the information you want it to display. You can cut it into any shape, but rectangular is the most preferred as it holds more information that is sufficiently visible. After cutting the piece you want, sand it to remove any surface imperfections.
Step 3: Design the letters using design software
Here, it can be as basic as Microsoft Word or a free online Photoshop alternative like Canva. The most important considerations for this step are the font style and the font size. Use large font size, of course, keeping in mind the sign size considerations of your cardboard. For yard signs letters, a font size range of 200-400 is recommended.
For font style, you can use script bold or bubble letters. Print the letters on a piece of paper. You are not limited to using letters only as you can still use a picture so long as it visibly displays the main message.
Step 4: Paint the cardboard with a popping color
To prepare the cardboard piece for the design transfer, paint it with a popping color such as red. Paint one side first and wait for it to dry before doing the same for the other side.
Step 5: Transfer the design to the base material
Cut the paper you printed the letters on along their edges, then strategically place it on the painted cardboard. Ensure that the message perfectly fits on your cardboard, leaving some blank space close to the edges.
While the paper is secured on the cardboard, spray paint the cut-out spaces (representing the letters) so that the design is transferred to the cardboard. You can use white spray paint for the letters to contrast perfectly with the red we used above. Remove the paper and again wait for the paint to dry.
Step 6: Add a layer of acrylic paint sealant
Ideally, your yard sign will be done by step 5, but for additional protection from environmental elements, it is advisable to add an acrylic sealant layer on top. The sealant will also help preserve the paint and also bring out a glossy touch that will make your yard sign even more visible.
Strategically post the attractive sign you made on your yard. You can build for it a standalone structure or hang it on existing fixtures in the yard. You can even hang it on a tree. Once you’re done, you might even be motivated to create some parking signs to protect your parking spot!


![How much does it cost to print 1,000 flyers? [Stats]](https://banneradviser.com/wp-content/uploads/2022/03/maxresdefault-218x150.jpg)

![What are Yard Signs Made Of? [Science] What are Yard Signs Made Of A Look at the Different Types of Materials Used in Making Yard Signs](https://banneradviser.com/wp-content/uploads/2022/04/pumpkin-2759904_1280-218x150.jpg)


